It has been a really long time since this was finished, but I am finally getting around to posting final pics of the sleepover kit. To refresh your memory, my starting materials were a pair of PJs I found at Carter's and fabric chosen to coordinate with them.
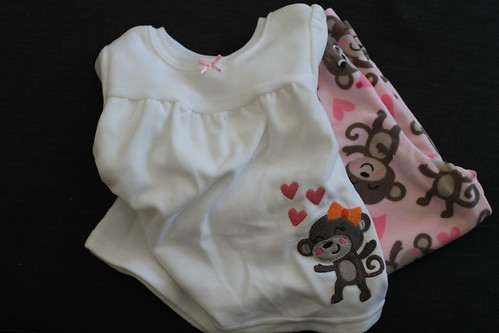 |
| Monkey PJs. |
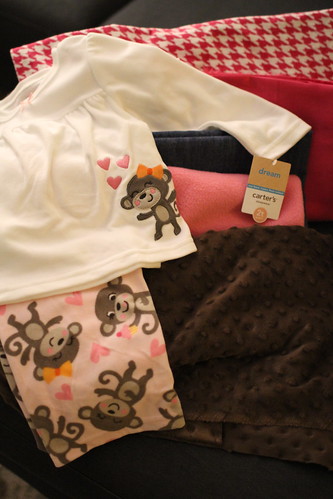 |
| Sleepover Kit raw materials. |
The picture shows all of the fabric used in the kit. Sorry for the yellow-ness - I need to learn to use the white balance on my camera. The photo of the PJs at the top shows the truest colors. Clockwise from left:
- Monkey fleece PJs from Carter's,
- Hot pink/white flannel houndstooth print,
- Hot pink flannel-backed satin,
- A medium weight blue denim,
- Bubblegum pink fleece, which matches the bows and hearts on the PJs,
- and Brown minky fabric.
(All of the fabric was from Jo-Ann's.)
The first part of the kit I made was a small blanket, with the brown minky on one side and the pink flannel-backed satin on the other. For the main part of the blanket, I just cut the largest rectangle I could from the brown minky fabric I had on hand and a matching piece from the pink satin. I basted the two fabrics, wrong sides facing, to hold it together while I attached the binding. For the binding, I made bias tape with the pink/white houndstooth using this tutorial. Let me just say that I would think long and hard before using flannel to make binding again. The fabric shifted constantly and making enough binding for even a small blanket took FOREVER. It was also difficult to work with once it was finally finished, again because the flannel shifts in strange ways while you manipulate it. It did, however, make for an adorable blanket.
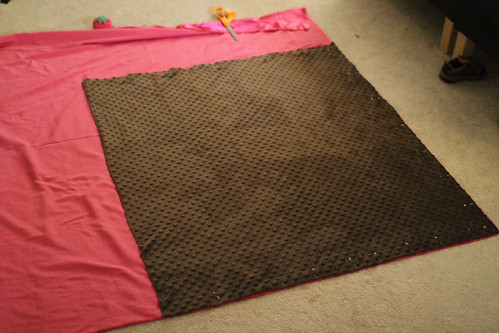 |
| Laying out the blanket. |
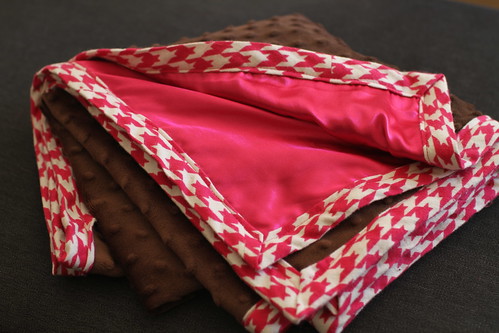 |
| Finished blanket. Isn't the binding cute? |
To go with the blanket, I made a simple pillowcase using the pink/white houndstooth flannel. Unfortunately, I didn't take any pictures of it, so feel free to imagine what a rectangle of the houndstooth would look like.
The slippers may have been my favorite part of this whole project. I used the bubblegum pink fleece to make elf slippers using the maya*made tutorial found here. Sewing tiny shoes is always challenging due to the simple fact that they are tiny and hard to work with. However, they were totally worth it.
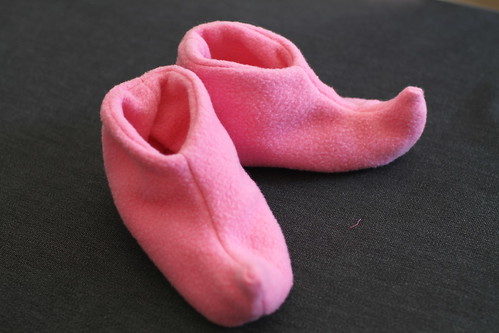 |
| Elf slippers. |
I decided at the last minute that since MK lives in a house with hardwood floors it would be nice if the slippers were non-slip. To do this, I made the soles of the slippers out of the houndstooth and used silver and pink glitter fabric paint to "color in" several of the checks on each slipper. I think this made them extra jazzy, don't you?
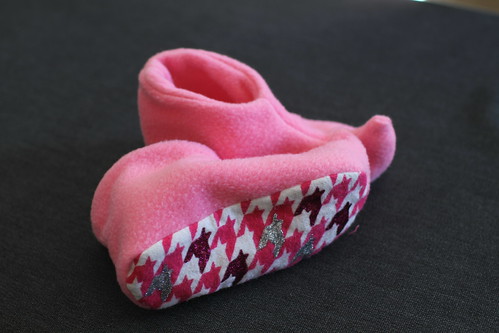 |
| Jazzy soles. |
The sleep mask, made using this Whipup tutorial, was fast and easy to make. I used the pink flannel-backed satin and pink/white houndstooth.
 |
| Sleep mask. |
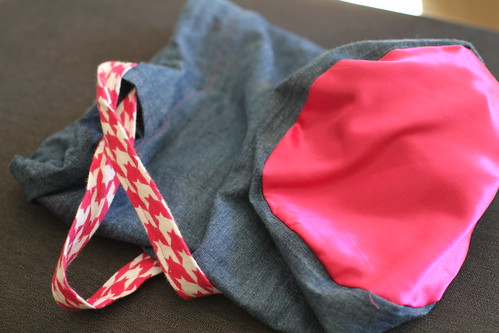
Sadly, I did not get time to make the stuffed animal I was planning to include. But I did make the bag! I used the denim and the pink satin to make a reversible, drawstring bag and used the leftover houndstooth bias tape for the drawstring. I still need to document the process of making these super easy bags.
I think that MK liked her bag and I really enjoyed making it. I like giving homemade gifts and would love to come up with some new kit ideas for kids. FYI, the original post that got me started was the build your own fort kit from armommy (found here). I made one for my nephew and immediately starting imagining what other kinds of kits you could fit into a bag. What a great idea to give gifts that inspire kids to make things and get creative! The fact that they allow me to sew cool kid stuff is just a bonus.
Be well,
Me
No comments:
Post a Comment