Yesterday I ended with our final kitchen layout in all its IKEA glory. In order to realize our vision for the new kitchen, the old kitchen had to be all but gutted. The asbestos tile on the floor was removed (along with the tile that covered the entire lower floor of the house - I think all told we had about 800 square feet of asbestos tile removed) and the material under the tile, which left just the original floor boards. The walls were all sanded and patched, including two large holes that had been hidden behind the upper cabinets. Because they are in the main wet wall between the kitchen and the hall bath we are assuming that they were cut out (or gnawed out by some sort of animal - seriously, who would leave the holes not just open but ragged like that?) in order to perform repairs on the plumbing for the bathtub.
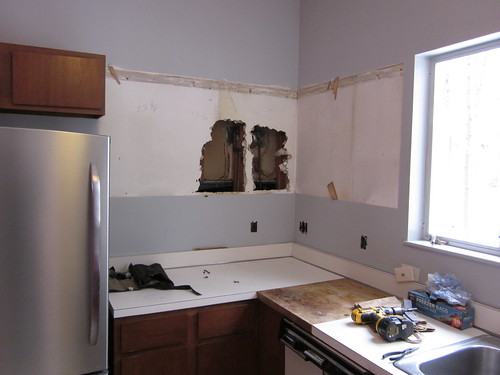 |
| It looks like ROUSs were living in our walls. |
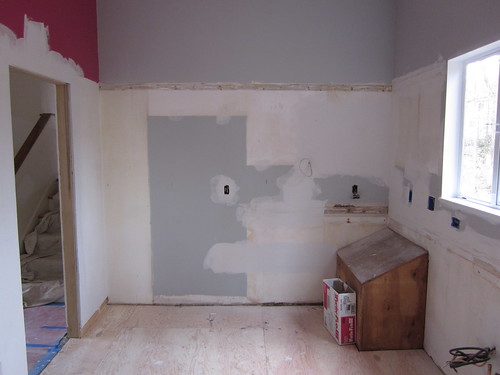 |
| Much better. The strange wooden box in the corner is the head space above the steps exiting the basement. |
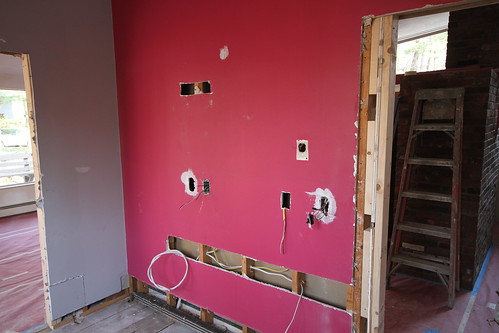
Once the kitchen was completely stripped, there were a few things that needed to be added or altered to accommodate the new design. We have baseboard heating that would be obscured by the new cabinets on the magenta wall, so the electricians and our contractor (let's call him Doug because that is his name) installed a toe-kick heater to keep the kitchen warm. The electricians also updated all the existing outlets to comply with new electrical code and added/moved some outlets, ran new wiring for the wall oven/microwave combo unit and new under-cabinet lighting, moved the single, sad pendant light to a spot over the sink, and added 6 new pot lights in the ceiling. Doug laid new supports for the flooring, moved the kitchen plumbing just a smidge and ran a water line for the ice maker in the freezer.
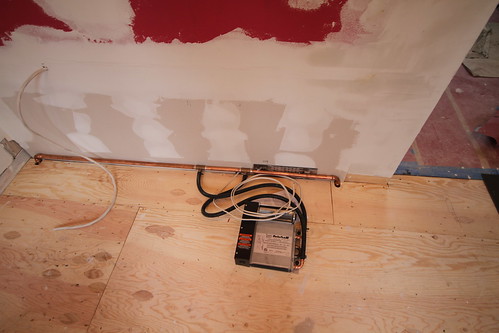 |
| Toe-kick heater. |
 |
| New wiring for wall oven and microwave. |
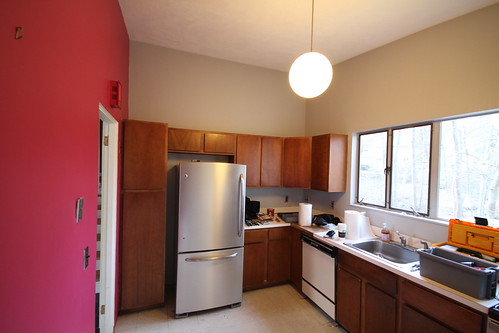 |
| Original pendant light. This was the only light in the room. |
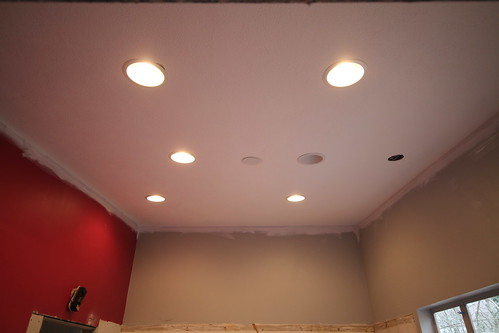 |
| New lights. The pot light on the left near the door was positioned slightly off so that it would be closer to the doorway. You can see the plate over the original fixture location and the hole where the new pendant would hang. |
Finally, our painter painted the entire room (walls and ceiling) with the color that would eventually be on every wall and ceiling in the entire house -
Benjamin Moore's Distant Gray. Thankfully M and I were of one mind on paint colors and we both wanted white walls everywhere. We may paint accent walls in the future but for now, the single color makes the house feel cohesive and clean. We started with about 10 different whites and slowly narrowed our choices. It helped to look at color swatches in several rooms, at all times of the day and on days with different weather, so we could tell which colors tended to look bluish, or yellowed, or pink. We wanted a true, neutral white and Distant Gray came out the winner. We also decided to use Benjamin Moore's
Natura paint, which is no-VOC and essentially odorless - you could barely even smell it while they were painting. Seeing the empty room with the white walls was a great moment because you could finally start to picture the end result.
 |
| Beautiful, quiet white. |
Next time: cabinets, flooring and IKEA!
Be well,
Me
No comments:
Post a Comment